Download virtual
machine package, install (VMWare Workstation 16.1.2), use
serial ZF3R0-FHED2-M80TY-8QYGC-NPKYF to register it
Download windows 10
pro 64 bit version. You can use this verson,
but it is not MS original build, so use it in VMs only. CRC32:
FD3F1D2C
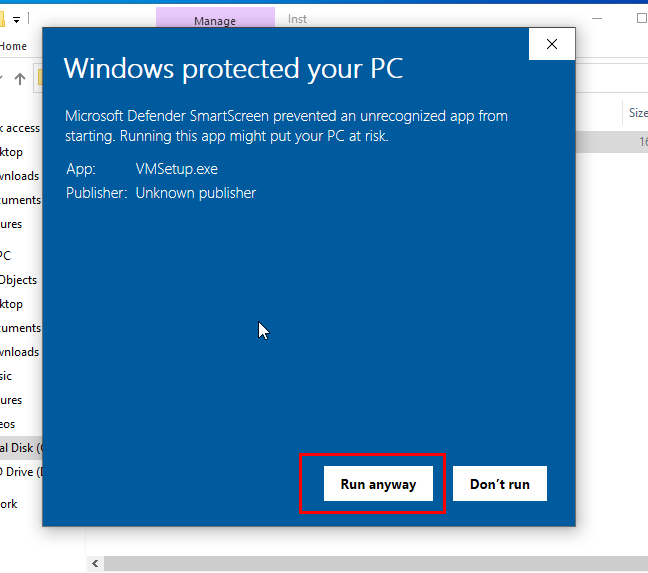
Download VMSetup. Important: don't run VMSetup on your host, it
is for VM and should be started inside VM only
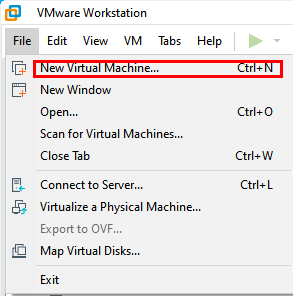
Start VMWare
Workstation 16 and create new virtual machine
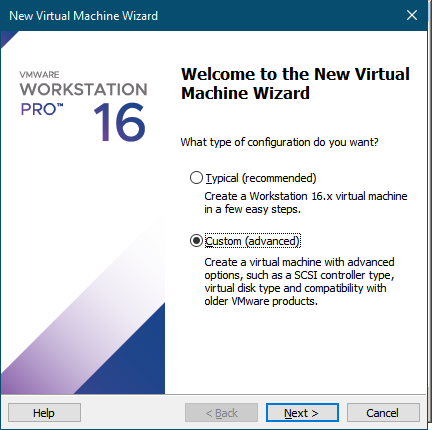
Select custom VMWare
settings and click Next
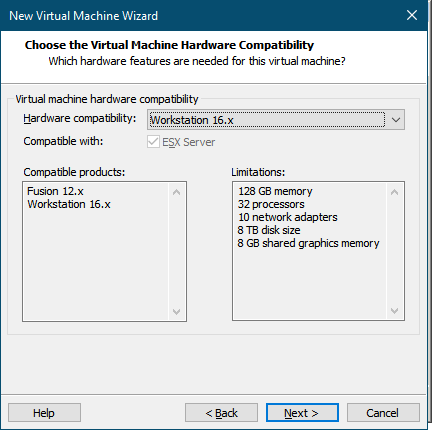
Select 16.x
compatibility. Click Next
Select downloaded
windows 10, 64 bit ISO file as an installer disk image. Click
Next

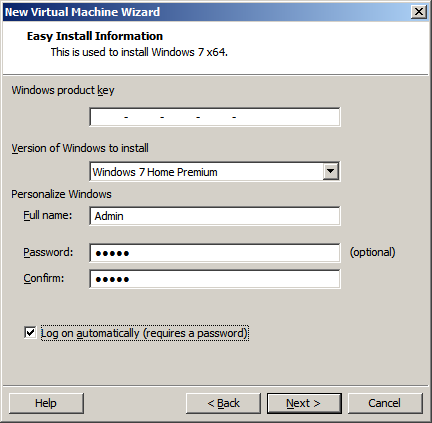
Depending on your
windows build you may have Easy Install started. Define windows version
(Windows 10 Pro) and windows login. Make sure it is not the same as login
on your host windows. Default non personalized logins 'Admin' or
'Administrator' are OK. Set Password and tick 'Log on automatically'
checkbox. Click Next
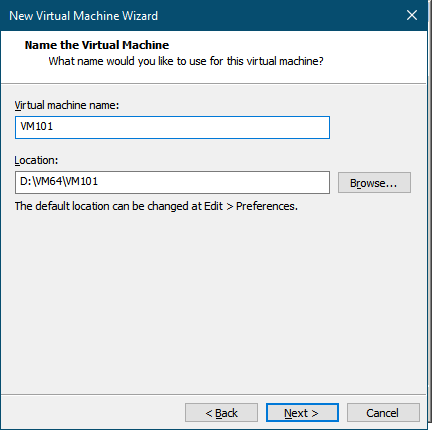
Select path to the
location where new virtual machine is created. Memorize path, you will need it
later. Define name of a new virtual machine. It is recommended to use
number in the name of your virtual machine for easier management of multiple
VMs. Use fastest/less used hard drive with at least 60 Gb of a
free space. Click Next
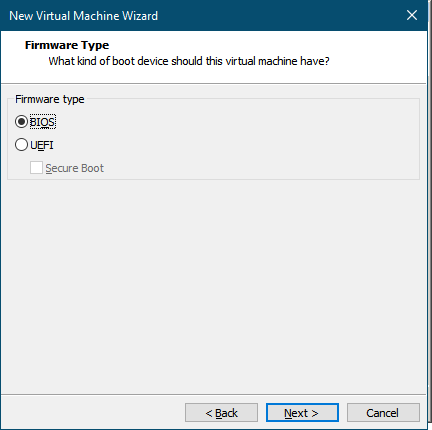
Leave next screen
default. Click Next
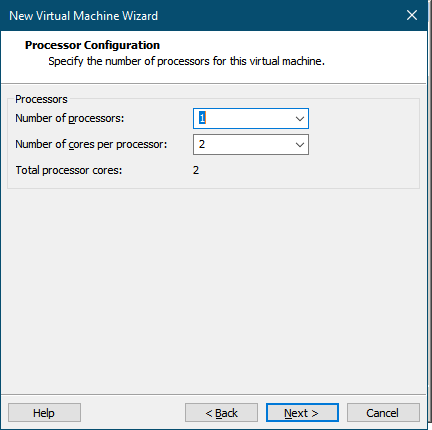
Assign one
processor and one core to the virtual machine. Click
Next
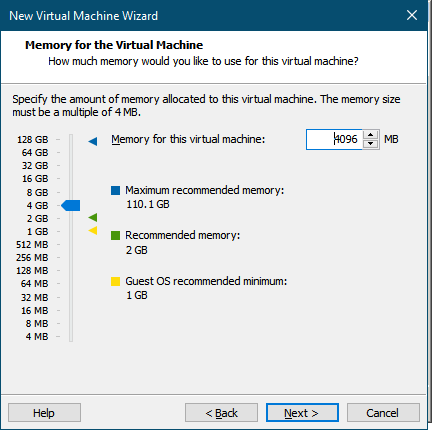
Assign 4096 MB of
a memory to the virtual machine. You may change assigned memory later.
Click Next
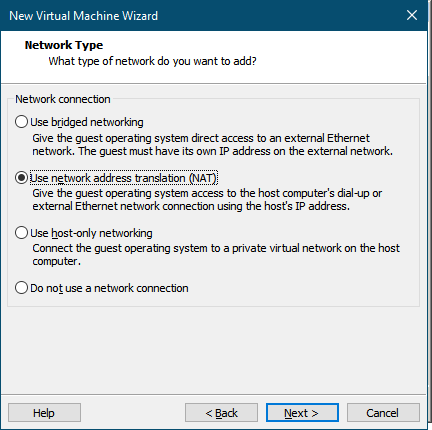
Use NAT network type.
You can also select bridged network if you are sitting behind a router and it
distributes local IP addresses to your home/work subnetwork. Click
Next
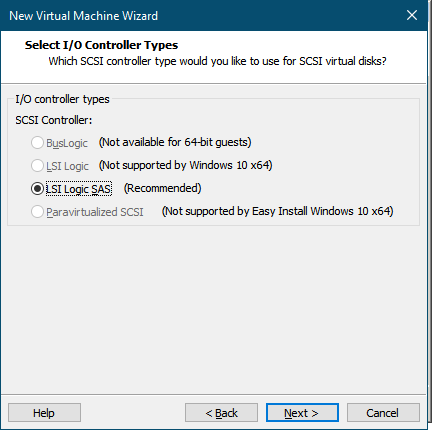
Leave default I/O
controller type and click Next
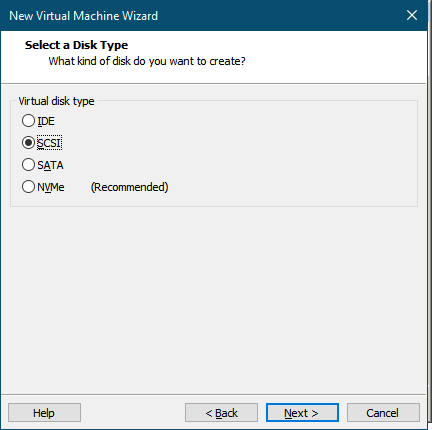
Select SCSI disk type
and click Next
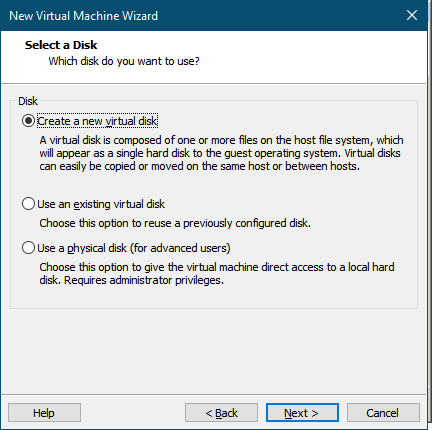
Select 'create new
virtual disk' and click Next
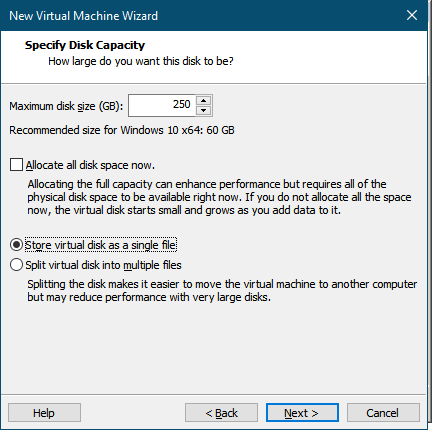
Specify disk
capacity 250 Gb and tick store virtual disk as a single file. Real
size of virtual disk will depend on the volume of all files in your virtual
machine and never exceeds 60 Gb. Don't preallocate disk space as this
will eat real disk space at the very beginning, despite if you have a lot of
space on your hard disk or don't plan to create more virtual
machines. Click Next
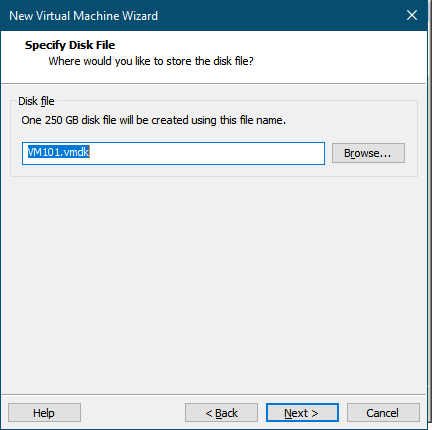
Leave default virtual
disk name. Click Next
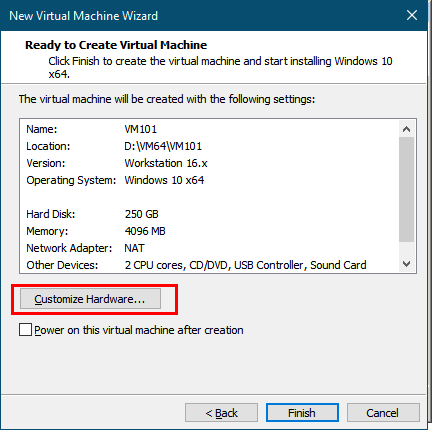
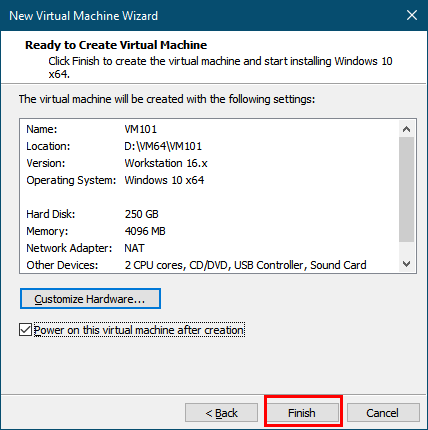
Here you can customize
hardware. Click customize hardware:
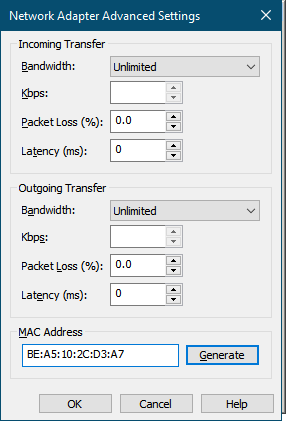
Remove printer
and open network adapter advanced settings
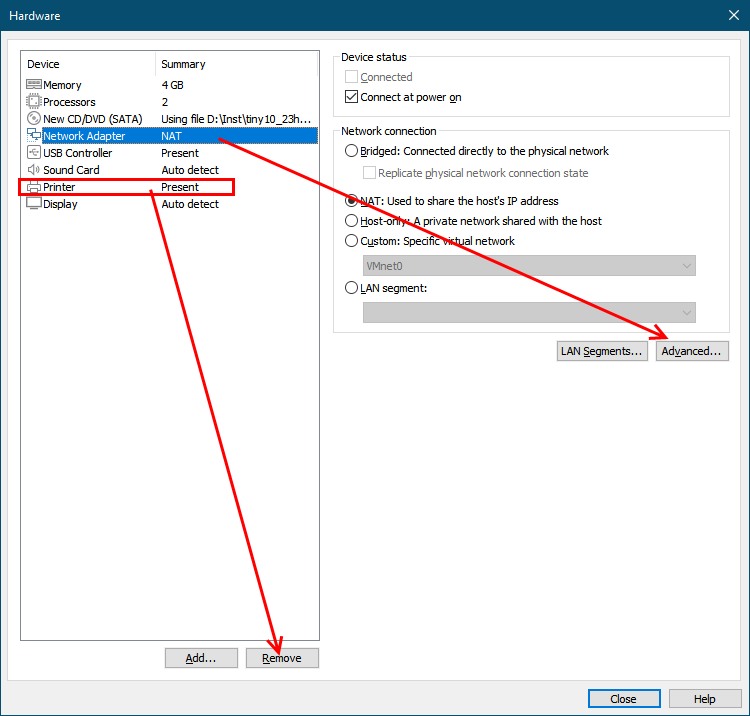
Click Generate button,
then change first 3 groups to be random (not started from 00:50:56). Click
OK
Open display settings
and set graphic memory to 2Gb, untick automatically adjust interface size
in VM
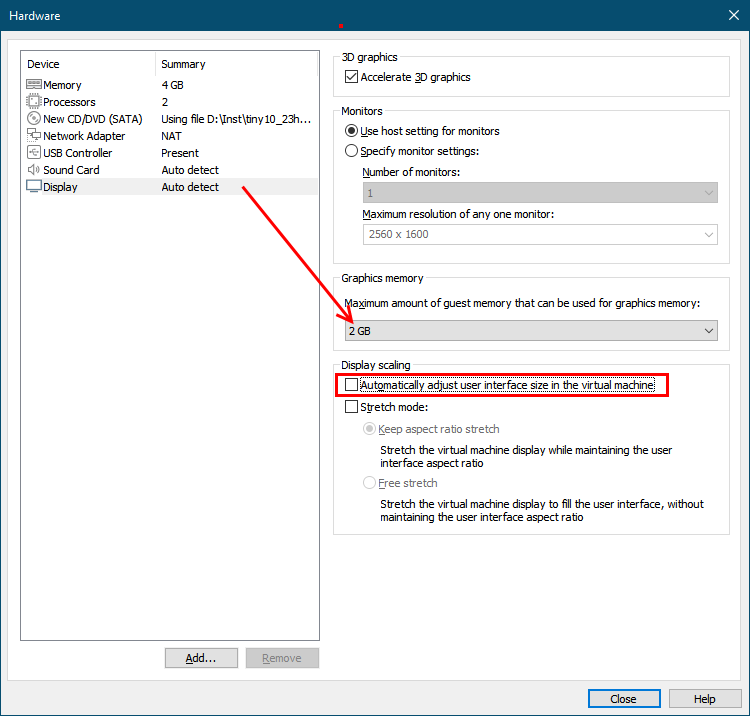
Click Close. Tick
power ON this virtual machine after creation and click Finish to start
installation
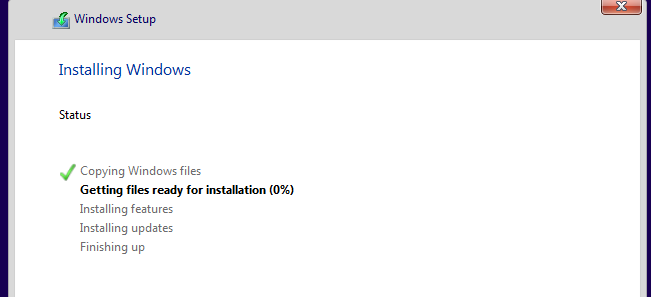
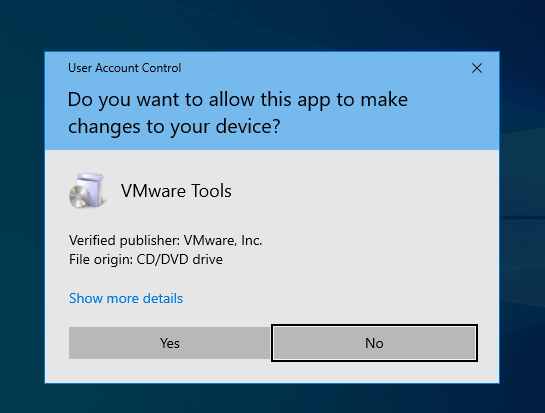
Install windows as
usuall. New virtual machine is created and windows installation procedure
is started automatically. At the end of windows installation procedure
VMWare Tools are automatically installed. If not, you can install VMWare Tools
manually from VMWorkstation Menu->VM->Install VMWare Tools. If
warning message appeared that CD device (or anything else) is not
available on your host and will start disconnected, just close it. If
nothing happens, check that you have D: disk connected and start setup64.exe
from here
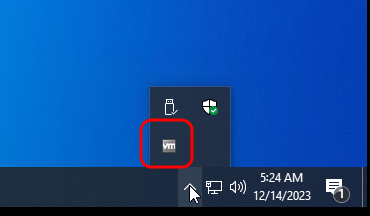
When installation is
complete, restart virtual machine. Check that VMware Tool icon present in
task bar
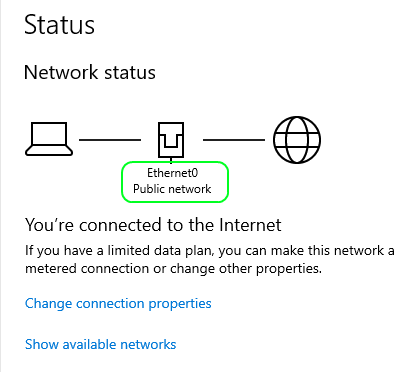
Click NO when asked
about your network type.
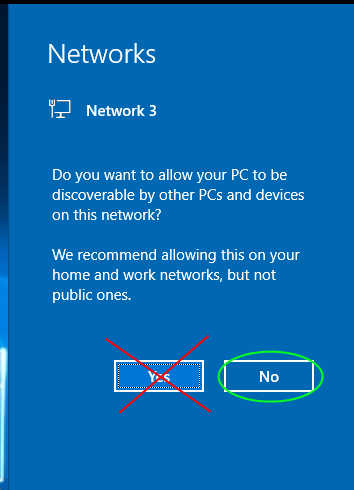
If you clicked YES, your network will be private network and out firewall rules will not work! Switch to public network. Open network status and goto 'change connection properties'
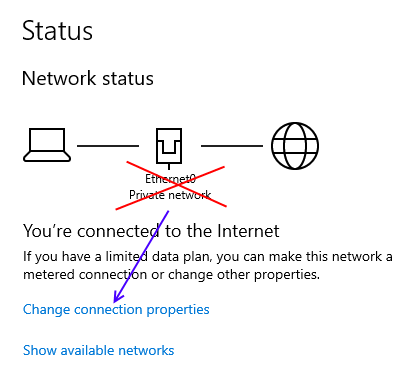
If you clicked YES, your network will be private network and out firewall rules will not work! Switch to public network. Open network status and goto 'change connection properties'
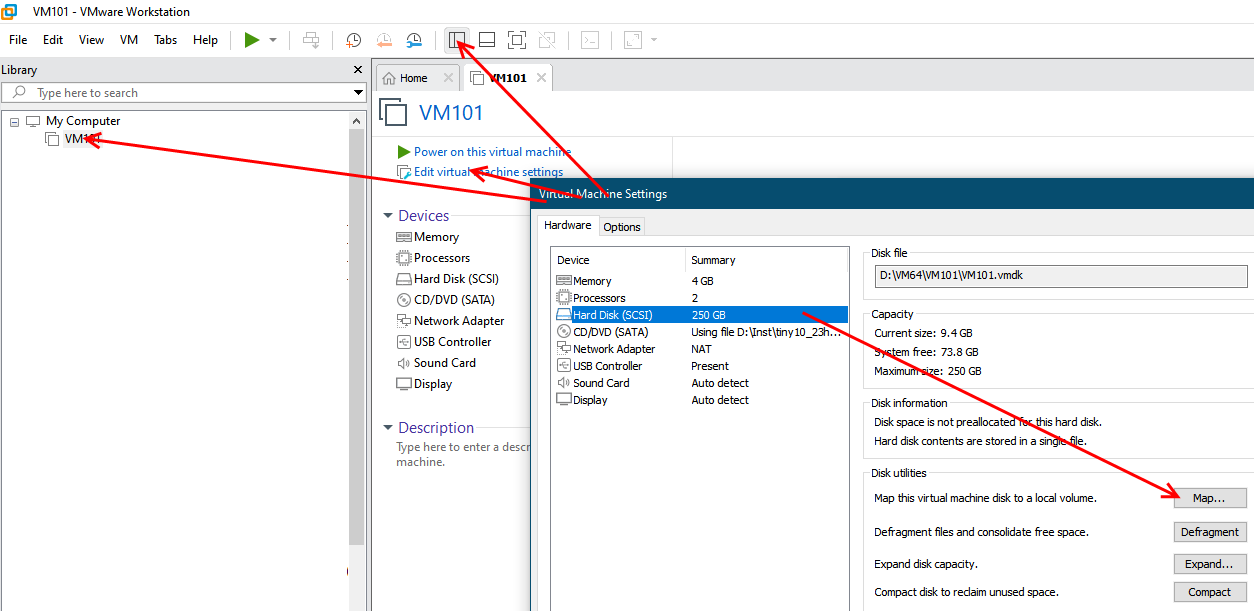
Now we need to
transfer files inside virtual machine. Shut down virtual machine and open
virtual machine settings. If you dont see sidebar, open it via menu.
Select virtual disk and in utilities click map:
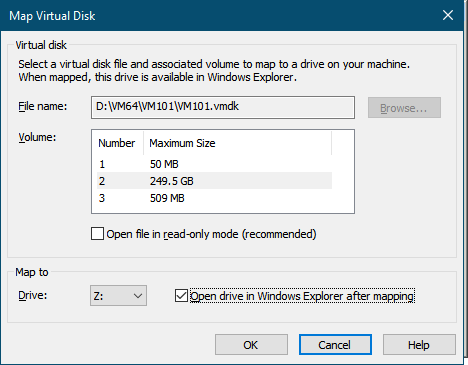
Untick read only mode,
select drive with max volume and tick open drive in explorer. Click
OK and OK one more time in appeared warning. Virtual disk will be opened in
new explorer window.
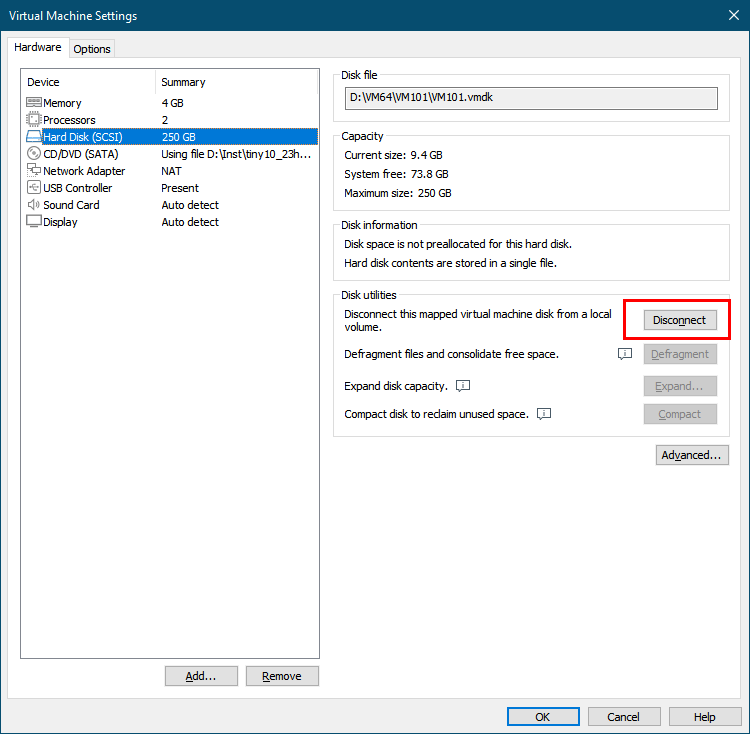
Now create
installation folder, e.g. Z:\Inst\ and drop here VMSetup.exe. When
transfer is finished, close explorer window. Open virtual disk settings and
disconnect virtual drive. If necessary click 'Force Disconnect'
Now right click to
your VM and select open file location
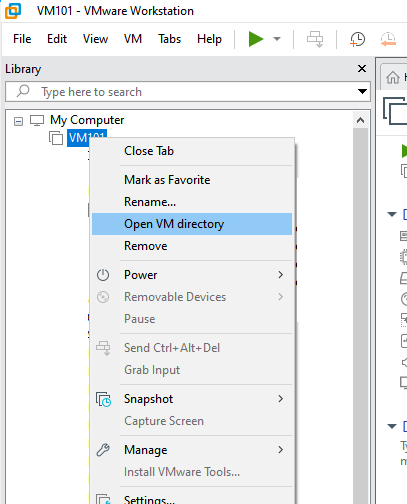
Find a file with
description 'VMWare virtual machine configuration' and open it with
notepad
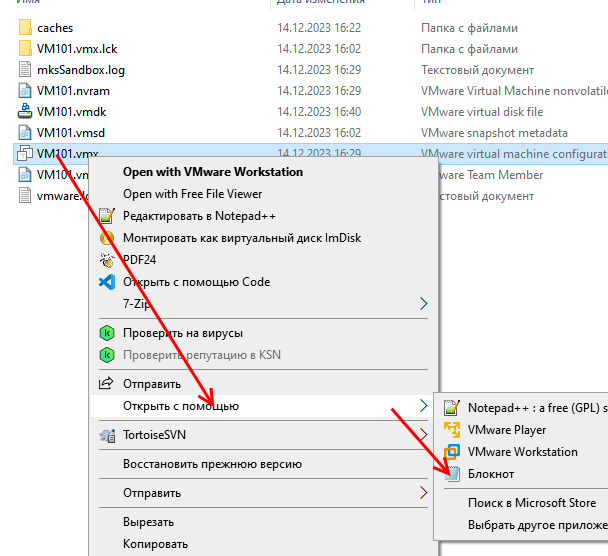
To the end of a file
add lines, save file and close notepad:
msg.autoAnswer = "TRUE"
monitor_control.virtual_rdtsc = "FALSE"
msg.autoAnswer = "TRUE"
monitor_control.virtual_rdtsc = "FALSE"
Second line
(monitor_control.virtual_rdtsc) can help with game lags, but may
also add more problems with some CPUs. If you find that buttons
in game are is blinking very fast, you should comment out
the line with ;
;monitor_control.virtual_rdtsc = "FALSE"
;monitor_control.virtual_rdtsc = "FALSE"
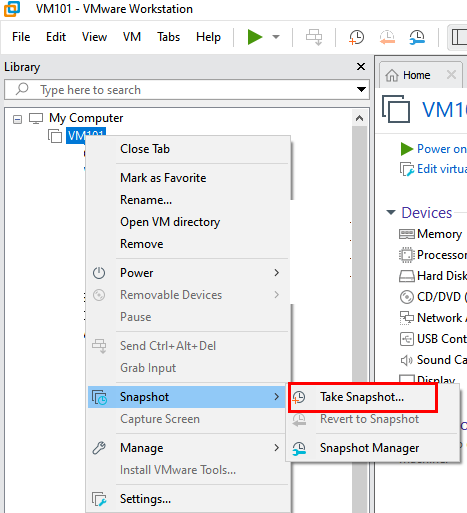
Now we are ready to
modify VM with VMsetup.exe. It is recommended to make snapshot of your virtual
machine state before modification. Right click your VM in side panel and in
menu select Take Snapshot. If anything goes wrong you can always revert VM
state to this snapshot via snapshot manager and report about problem or repeat
setup.
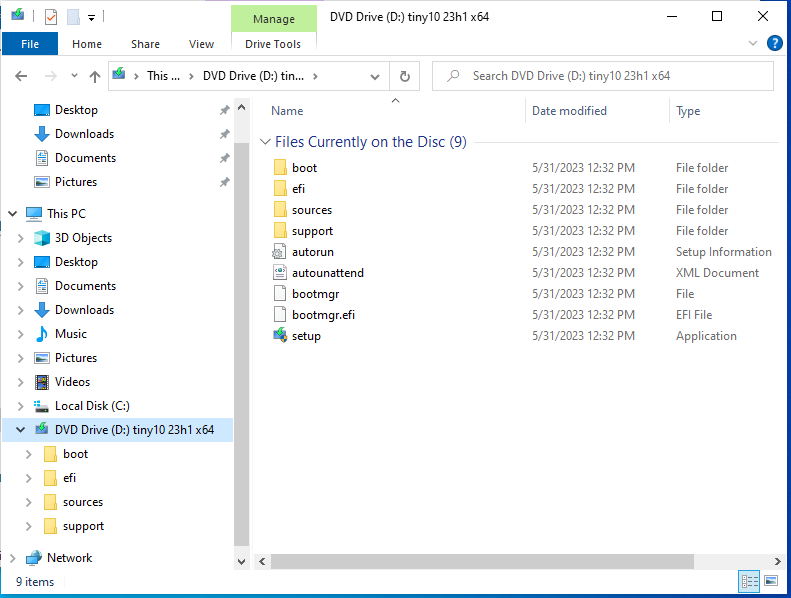
Now we need to enable
.Net Framework 3.5. Start VM and check that disk D: contains windows iso
file
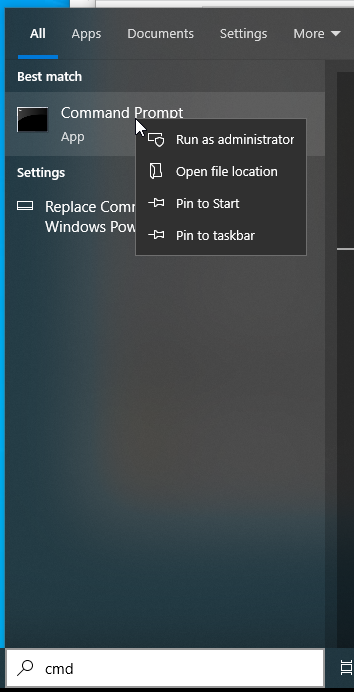
In search
field in task bar type cmd.exe and start cmd as administrator
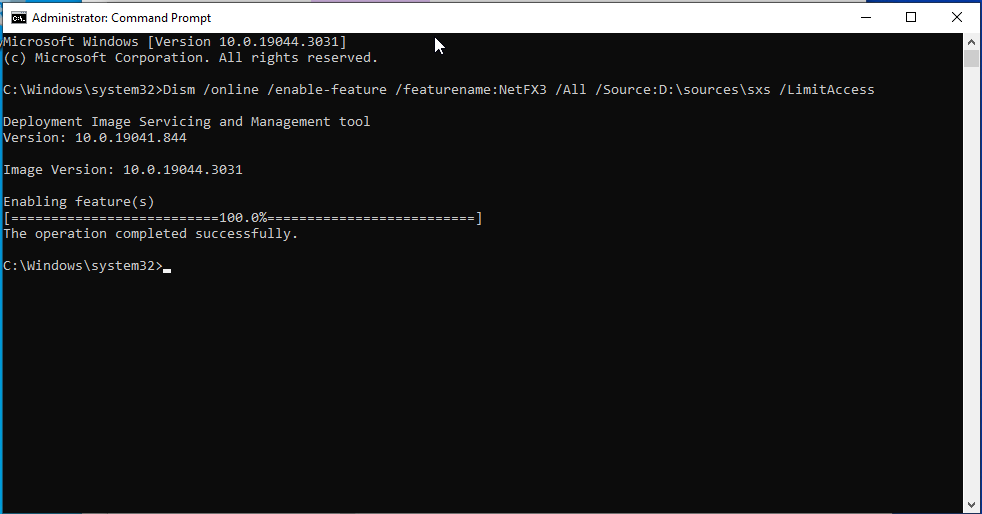
Start a command and wait for
completion:
Dism /online /enable-feature /featurename:NetFX3 /All /Source:D:\sources\sxs /LimitAccess
Dism /online /enable-feature /featurename:NetFX3 /All /Source:D:\sources\sxs /LimitAccess
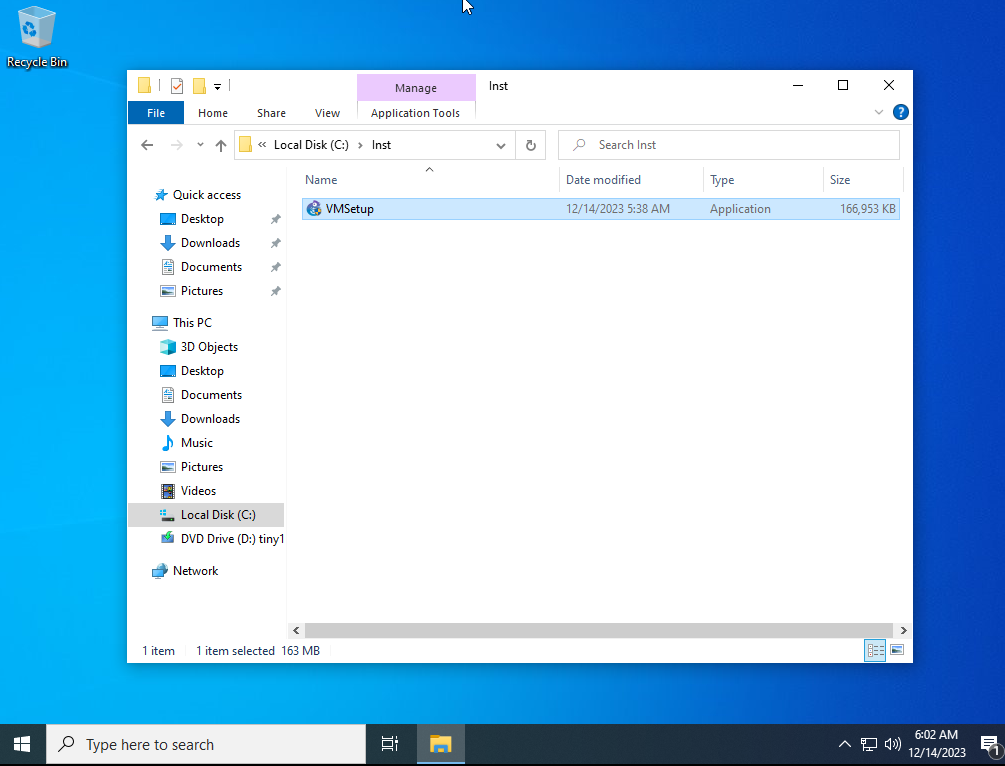
Now you can
start VMSetup from C:\Inst\ folder
Define new
computer name, videocard name, desktop resolution, timezone, custom
bot name and paths, custom bot launcher name, whether or not you want to
install Proxifier
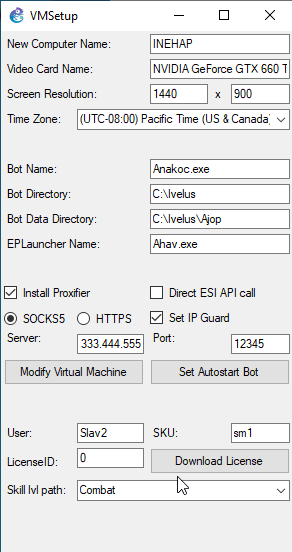
Proxifier is required
for use with SOCKS5 or HTTPS proxy to mask IP address. If you don't have
SOCKS5 proxy, you can purchase one. Make sure it is not from 1-3 pages in
google search and not extremely cheap as you may share IP
with other bot farmers. As a rule you will have IP address or domain
name, Port, Username and Password for connection to proxy server. Define
Server and Port. Username and Password need to be added later in proxifier
manualy. Some customers ask whether I should mask IP if I already used
home/work IP for login? Answer is NO. If you want to mask IP you should
create brand new account for botting inside VM and never use it from
outside of VM. This way IP masking makes sence. Direct ESI API is option for
slow proxy. It does not improve your security, but allows non personalized
calls to ESI API server path w/o proxification using your real IP. If you
create several virtual machines you should check parameter 'route' using ipinfo.io website. Two virtual machnes
should have different route or they are linked
by subnetwork.
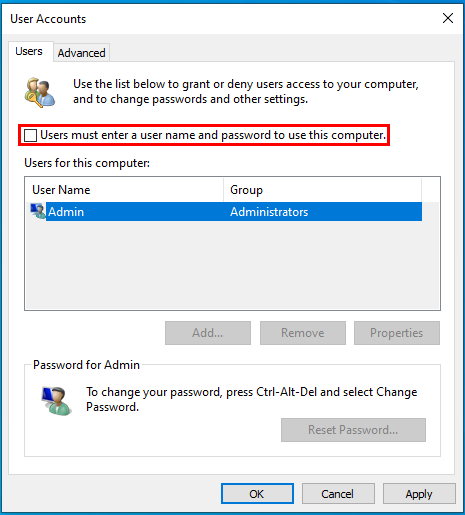
Check that internet
connection is enabled in VM. Click Modify Virtiual Machine button. This will
open User Access Control settings. Disable UAC and click OK, then
confirmation dialog.

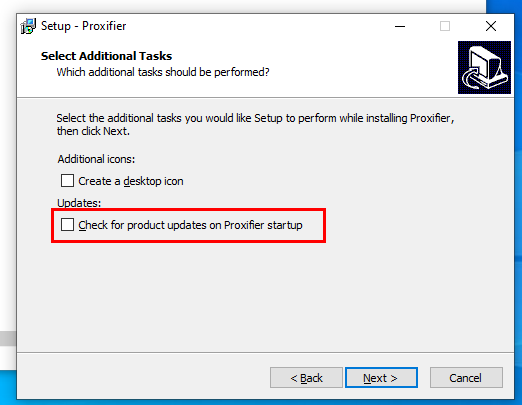
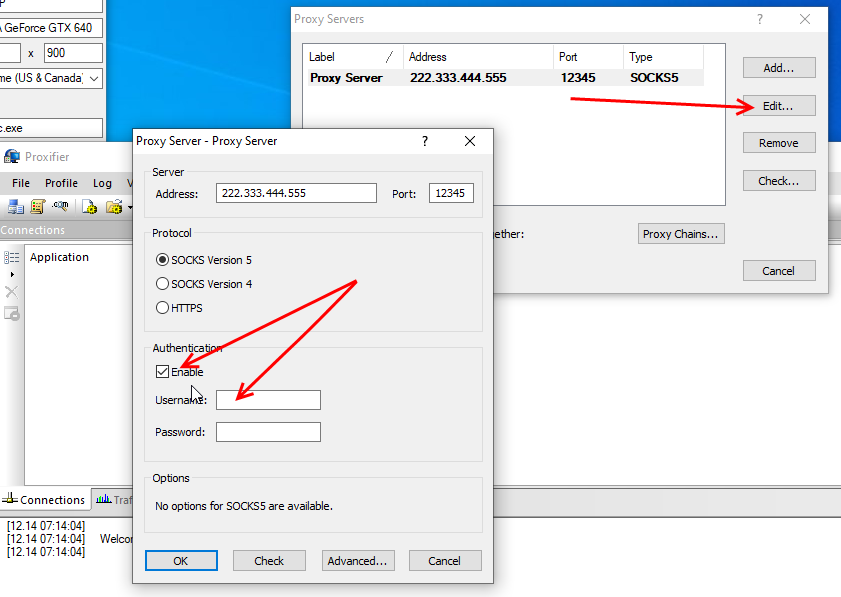
Install proxifier when
prompted manually. Untick check for update
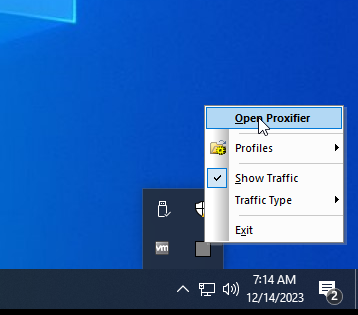
Wait while setup
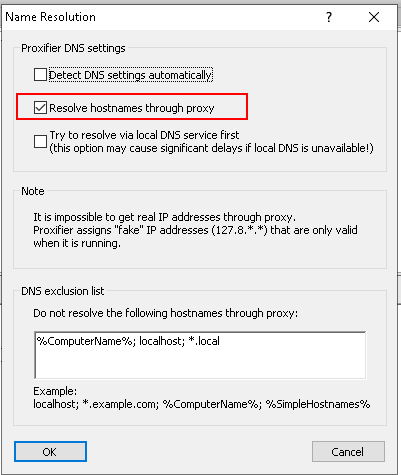
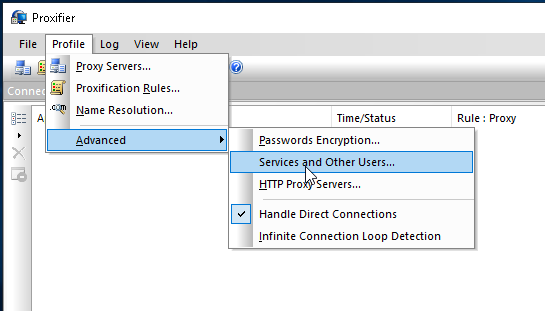
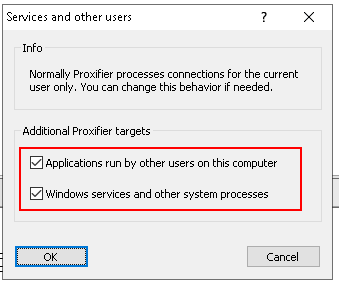
complete and computer is restarted. VMSetup will start automatically. If you installed Proxifier you
need to add Username and Password, set to resolve DNS names via proxy and set
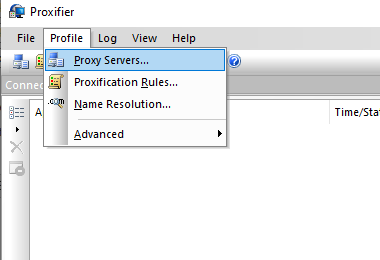
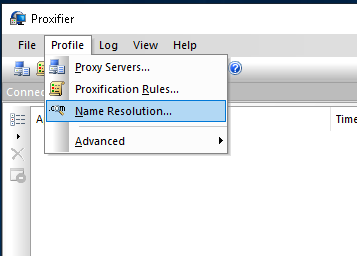
windows services to connect internet via proxifier. Open it from
taskbar, switch to proxy servers menu.
Click Edit, enable
authentication and add username and password.
Name
resolution:
Services
settings:
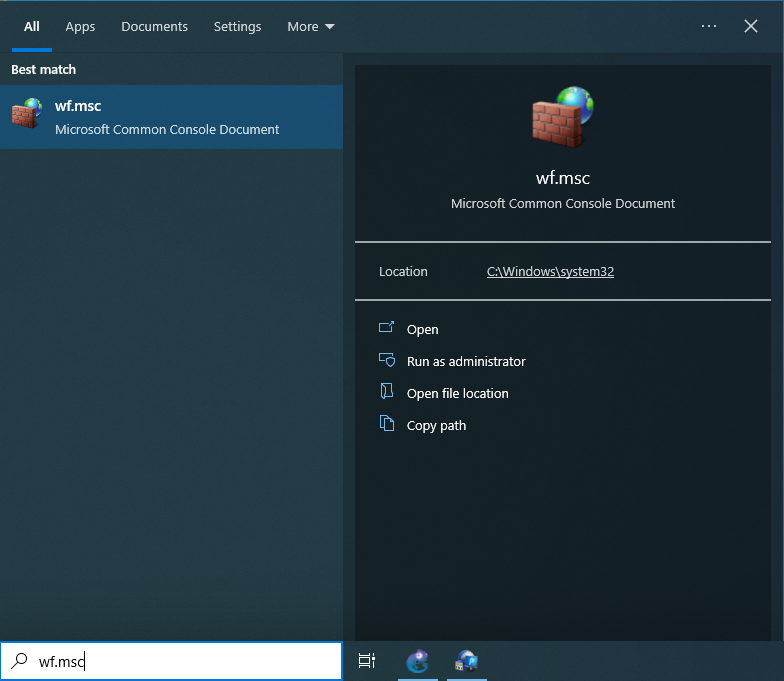
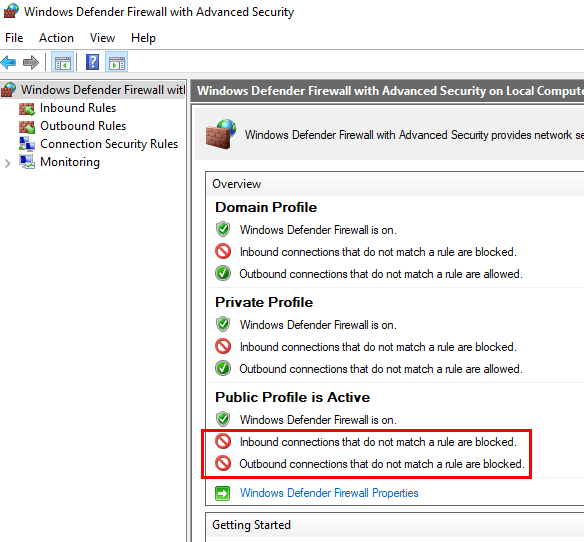
If you installed
proxifier you also need to set firewall rules. Type in search bar wf.msc to
open firewall settings
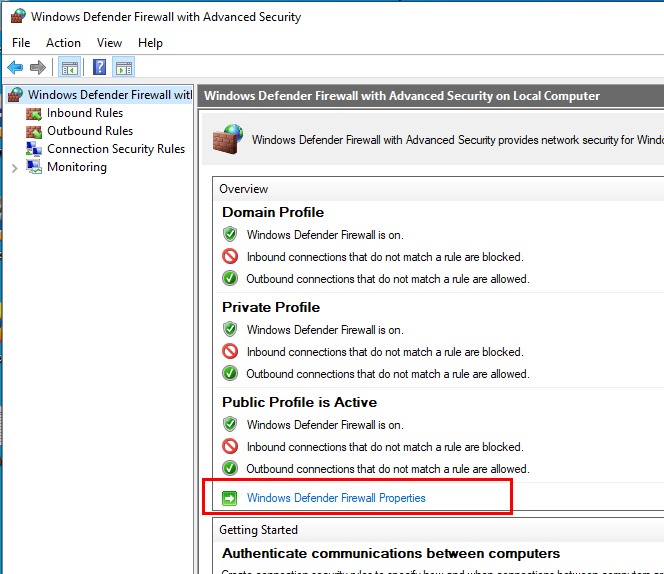
Open
properties
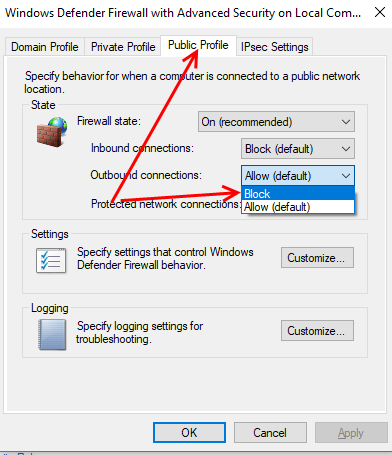
Swich outbond
connections in public profile from allow to block by
default. Confirm that icon states switched to blocked
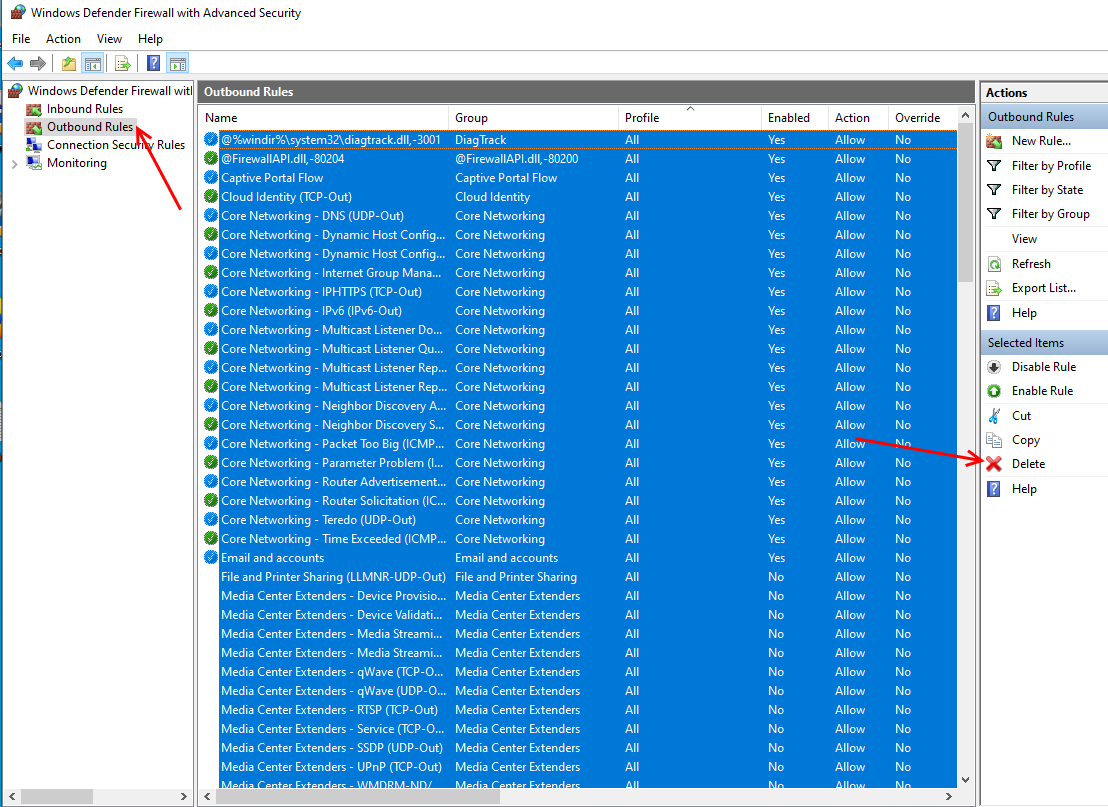
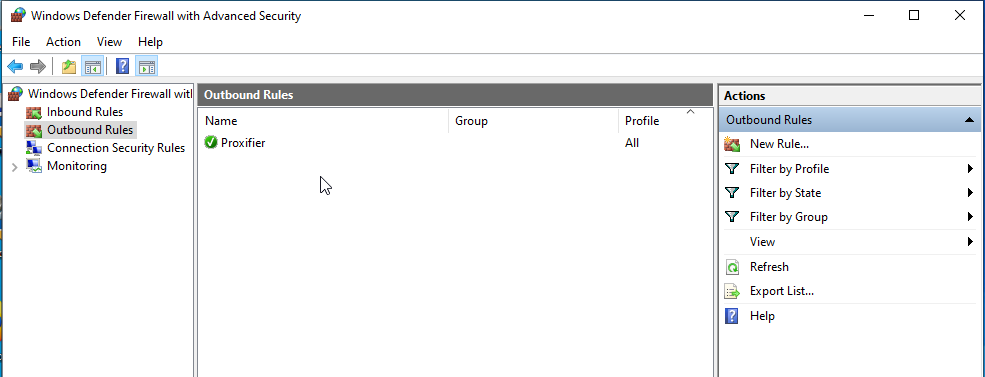
Remove all existing
outbond rules
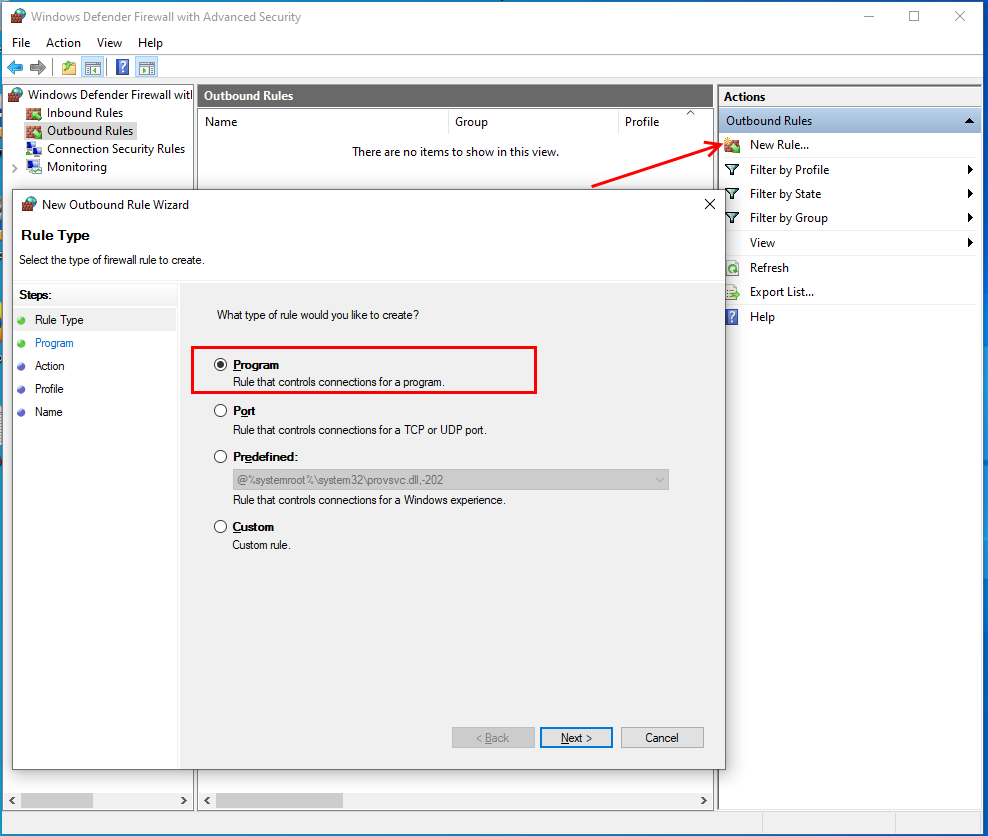
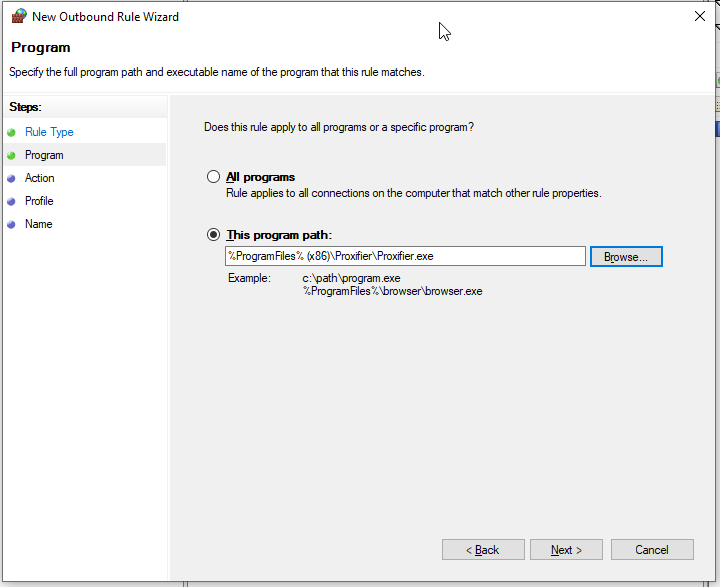
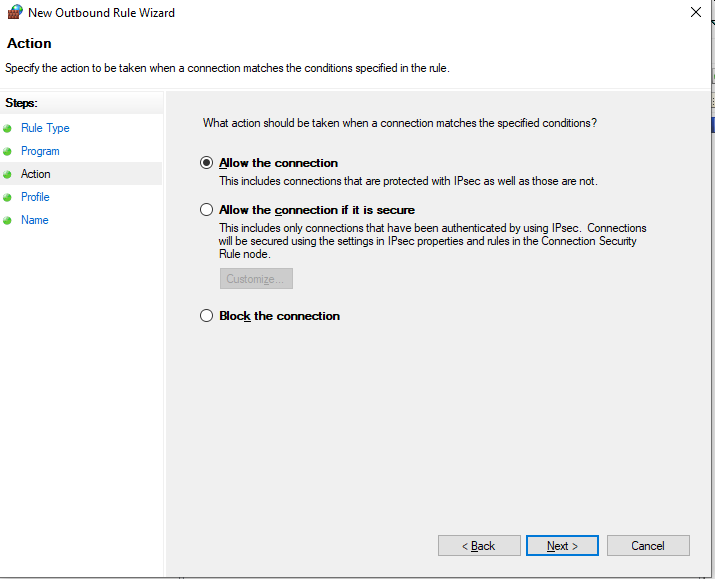
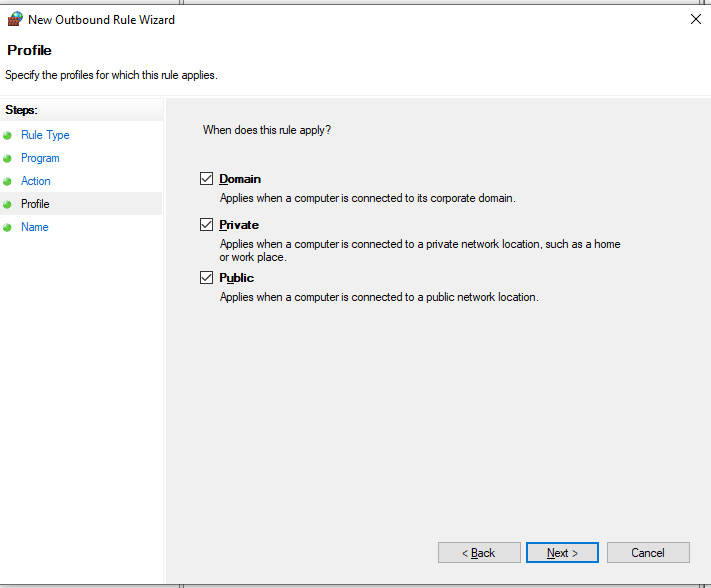
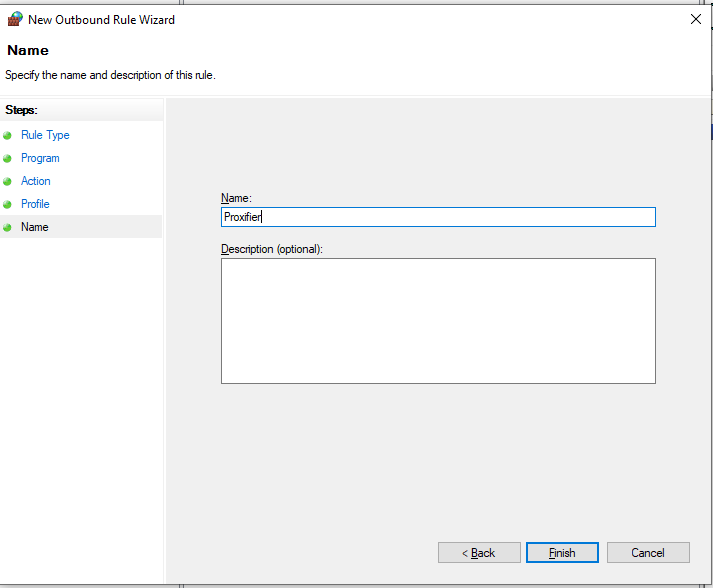
Add one rule to allow
proxifier to exit internet only
Open firefox using
desktop link and check your IP address. To check IP address open ipinfo.io
website. If your IP address is masked and in case of several VMs 'route'
parameter (shown in ipinfo.io) is unique, download eve and start eve
online installation.
Download eve launcher,
create new eve account. You can use Registration.txt file on your desktop
to register account with pregenerated passwords.
Complete first run
with your account and lock license to serial as per manual. When you click
send button you will see download link of your license. Something like
YourUsername_sm1_18239.license, where YourUsername is your macrolab
username, sm1 - SKU of your license, 18239 is license ID. Use this data to
download your license with VMSetup.exe
Start evepilot using
desktop link. No trial message should appear on this stage or you need to
delete _trial.license file and restart bot. Setup everything and check that
bot works as intended. When everything is ready switch to VMSetup and click
button 'Set Autostart Bot'. Since then every time when you start VM, bot will
be updated and started automatically.
VMSetup.exe modifies default EvePilot settings:
-
Disables standard autoupdater
-
Changes default algorithm to be Courier
-
Adds initial Courier settings for use with brand new alfa clone: refitting plan, skill list to learn.
-
Only one client is enabled in EvePilot by default (using of /n2 startup agrument)